
Table of Contents
Clerk Authentication in Flutter: The Complete Integration Guide
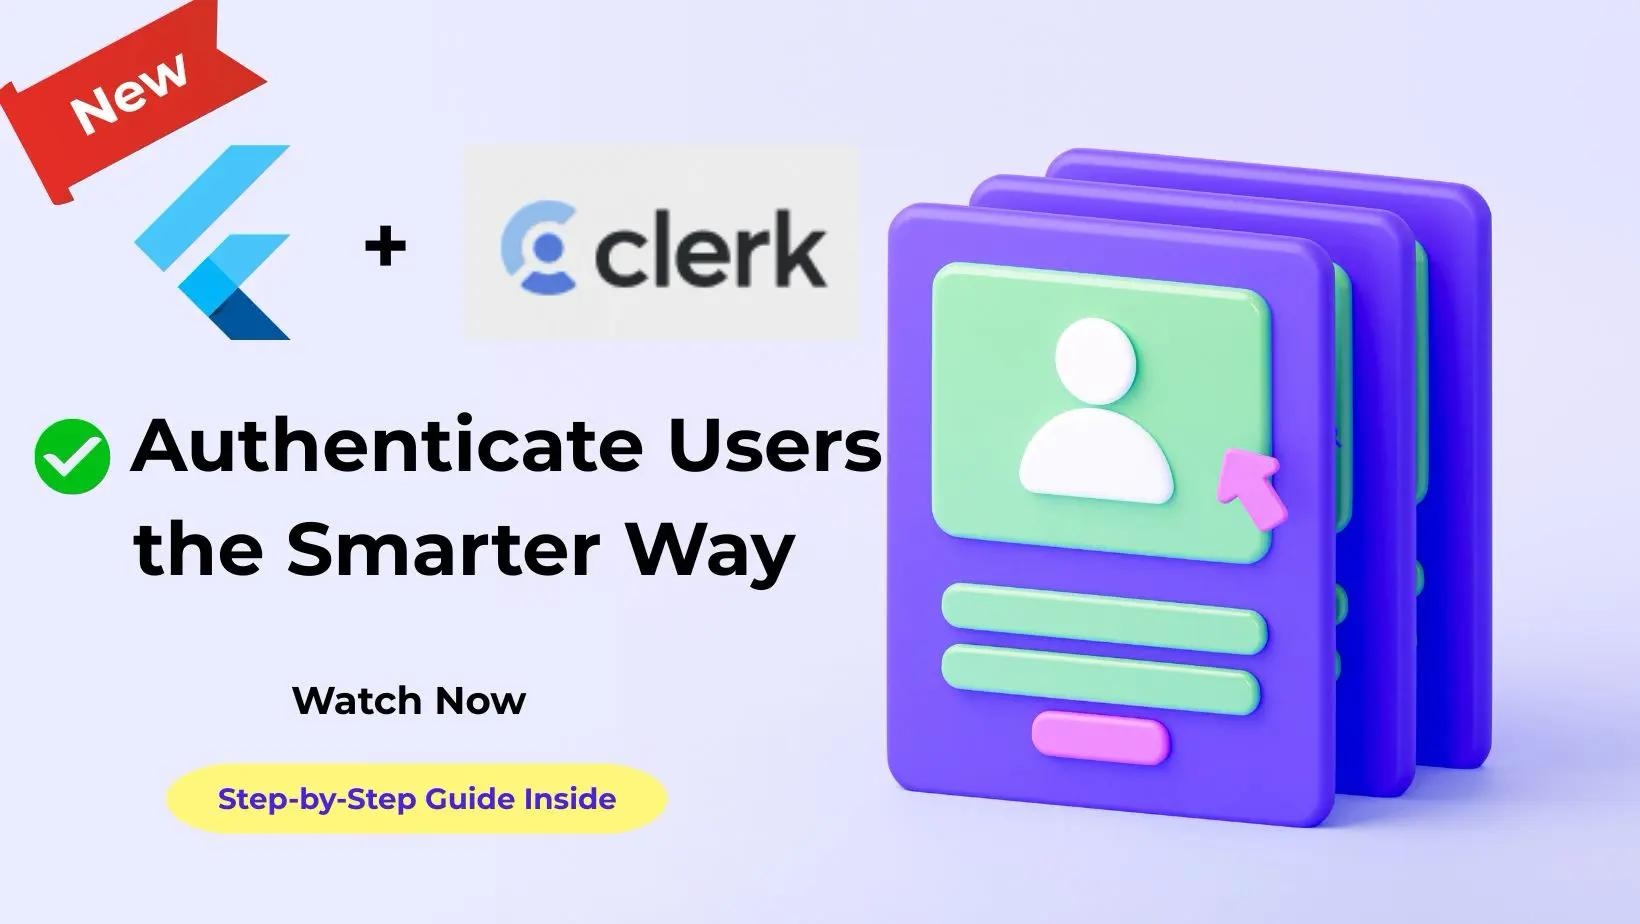
Implementing Clerk Authentication Flutter developers find, is the most efficient way to manage users and secure mobile applications in 2026.
Authentication is a critical aspect of app design, serving as the gateway to personalized services and paid offerings.
By using a professional third-party solution like Clerk, you can bypass complex backend setups and deploy high-quality security features instantly.
In this guide, we will explore two ways to integrate Clerk into your Flutter app: using Pre-built UI Components for speed and Custom Flows for full design control.
How to Integrate Clerk Authentication in Flutter
Time needed: 15 minutes
A streamlined checklist for integrating Clerk’s secure user management and authentication into your Flutter project.
- Configure Clerk Dashboard
Create a new application in the Clerk Dashboard and select your preferred auth providers like Email or Google.
Copy your Publishable Key from the API Keys tab for use in your Flutter config. - Install Flutter Dependencies
Add the
clerk_flutterpackage to yourpubspec.yamlfile under the dependencies section.
Runflutter pub getto synchronize the SDK with your project. - Wrap App with ClerkAuth Provider
In your
main.dart, wrap your root widget with theClerkAuthwidget and provide your unique Publishable Key.
This enables global authentication state management across all screens. - Implement Login UI (Basic or Custom)
Choose between the pre-built
ClerkAuthentication()widget for an instant UI or build a custom form usingTextEditingController.
Ensure your Sign-In and Sign-Up methods are linked to the Clerk SDK strategies. - Verify Session and Redirect
Implement a listener to check the
userobject status. If the user is authenticated, redirect them to your app’s home or welcome screen.
Use_auth.signOut()to allow users to securely end their session.
Why Choose Clerk Authentication for Flutter Apps?
Implementing authentication manually requires backend integrations, database management, and security configurations. Clerk simplifies this by providing:
- MFA & OTP: Built-in multi-factor authentication.
- Social Logins: Easy integration for Google, Facebook, Apple, and GitHub.
- User Management: A ready-to-use dashboard to manage your users.
- Security: Professional-grade encryption and session handling.
Setting Up the Clerk Flutter Environment
Step 1: Get Your Publishable Key
- Go to the Clerk Dashboard.
- Create a new project.
- Copy your Publishable Key (it usually starts with
pk_test_).
Step 2: Add Dependencies
Add the clerk_flutter package to your pubspec.yaml file:
dependencies:
  flutter:
    sdk: flutter
  clerk_flutter: ^0.0.10-beta
Watch the Full Masterclass
📺 Prefer Video Tutorials? If you’re more of a visual learner, I’ve created a complete Clerk Authentication Flutter Masterclass on my YouTube channel. This playlist covers everything from the initial dashboard setup and API key configuration to advanced custom UI implementation.
Watch the Full Clerk + Flutter Playlist here
Tip: I recommend starting with the first video below to ensure your Clerk Dashboard is configured correctly before you start coding!
🔐 Flutter + Clerk: The Smartest Way to Authenticate Users
Method 1: Using Clerk’s Pre-built UI (Fastest Way)
If you want to get up and running in minutes, Clerk provides a managed UI.
Initializing Clerk in main.dart
Wrap your entire app in the ClerkAuth widget to provide authentication state throughout your project.
void main() {
  runApp(
    ClerkAuth(
      config: ClerkAuthConfig(
        publishableKey: 'YOUR_PUBLISHABLE_KEY_HERE',
      ),
      child: const MyApp(),
    ),
  );
}
Implementing the Login Screen
In your clerkauthscreen.dart, simply call the ClerkAuthentication() widget. It handles the UI for Sign-In, Sign-Up, and Password Resets automatically.
class ClerkAuthScreen extends StatelessWidget {
  @override
  Widget build(BuildContext context) {
    return Scaffold(
      appBar: AppBar(title: const Text("Clerk Login")),
      body: SafeArea(
        child: ClerkAuthentication() // This renders the entire Clerk UI
      ),
    );
  }
}
Managing User Sessions & Sign Out
Once authenticated, you can access user data anywhere in your app.
Displaying User Profile Data
Column(
  children: [
    Text("Welcome, ${_user!.username}"),
    Text("Logged in as: ${_user!.email}"),
    ElevatedButton(
      onPressed: _auth.signOut,
      child: const Text("Sign Out")
    )
  ],
)
Method 2: Custom Authentication Flow (Advanced)
If you need a different approach using the same SDK but with your own custom text fields and logic, follow this implementation.
For developers who need full control over the UI design while leveraging Clerk’s powerful backend, you can build a custom flow. This involves capturing user input manually and managing the authentication state within your widget.
Custom UI & Auth State Logic
This method involves using TextEditingController for the email/password and listening to ClerkAuthState to update the UI when the user is logged in.
Technical Tip: Use
WidgetsBinding.instance.addPostFrameCallbackto ensure the Auth state is initialized before the UI attempts to listen to it.
Important: To avoid naming conflicts between the Clerk SDK and Flutter widgets, use the alias
import 'package:clerk_auth/clerk_auth.dart' as clerk;.
import 'dart:async';
import 'package:clerk_auth/clerk_auth.dart' as clerk;
import 'package:clerk_flutter/clerk_flutter.dart';
import 'package:flutter/material.dart';

void main() {
  runApp(const CustomSignIn());
}

class CustomSignIn extends StatefulWidget {
  const CustomSignIn({super.key});

  @override
  State<CustomSignIn> createState() => _CustomSignInState();
}

class _CustomSignInState extends State<CustomSignIn> {
  final _emailController = TextEditingController();
  final _passwordController = TextEditingController();

  late final ClerkAuthState _auth;
  clerk.User? _user;
  bool _loading = false;
  late final StreamSubscription _errorSub;

  @override
  void initState() {
    super.initState();

    // Using addPostFrameCallback to ensure the Auth state is ready
    WidgetsBinding.instance.addPostFrameCallback((_){
      if(!mounted) return;
      _auth = ClerkAuth.of(context);
      _user = _auth.user;
      _auth.addListener(_updateUser);

      // Listen for authentication errors
      _errorSub = _auth.errorStream.listen((err){
        if(mounted) {
          ScaffoldMessenger.of(context).showSnackBar(
            SnackBar(content: Text(err.message))
          );
        }
      });
    });
  }

  void _updateUser() {
    if(!mounted) return;
    setState(() {
      _user = _auth.user;
    });
  }

  Future<void> _signIn() async {
    setState(() {
      _loading = true;
    });

    try {
      await _auth.attemptSignIn(
        strategy: clerk.Strategy.password,
        identifier: _emailController.text,
        password: _passwordController.text,
      );
    } finally {
      if (mounted) {
        setState(() {
          _loading = false;
        });
      }
    }
  }

  Future<void> _signUp() async {
    setState(() {
      _loading = true;
    });

    try {
      await _auth.attemptSignUp(
        strategy: clerk.Strategy.emailCode,
        username: "User", // Set a default or dynamic username
        emailAddress: _emailController.text,
        password: _passwordController.text,
        passwordConfirmation: _passwordController.text
      );
    } finally {
      if (mounted) {
        setState(() {
          _loading = false;
        });
      }
    }
  }

  @override
  Widget build(BuildContext context) {
    // Show Welcome Screen if user is authenticated
    if(_user != null){
      return Scaffold(
        appBar: AppBar(title: const Text("Welcome")),
        body: Center(
            child: Column(
              mainAxisSize: MainAxisSize.min,
              children: [
                Text("Name: ${_user!.username}"),
                Text("Email: ${_user!.email}"),
                const SizedBox(height: 20),
                ElevatedButton(
                  onPressed: _auth.signOut,
                  child: const Text("Sign Out")
                )
              ],
            )
        )
      );
    }

    // Show Custom Login Form
    return Scaffold(
        appBar: AppBar(title: const Text("Clerk Login")),
        body: Center(
          child: Padding(
            padding: const EdgeInsets.all(16.0),
            child: Column(
              mainAxisSize: MainAxisSize.min,
              children: [
                TextField(
                  controller: _emailController,
                  decoration: const InputDecoration(labelText: 'Email'),
                  keyboardType: TextInputType.emailAddress,
                ),
                TextField(
                  controller: _passwordController,
                  decoration: const InputDecoration(labelText: 'Password'),
                  obscureText: true,
                ),
                const SizedBox(height: 20),
                _loading
                  ? const CircularProgressIndicator()
                  : ElevatedButton(
                      onPressed: _signIn,
                      child: const Text("Sign In")
                    ),
              ],
            ),
          ),
        ),
    );
  }

  @override
  void dispose() {
    _emailController.dispose();
    _passwordController.dispose();
    if(mounted){
      _auth.removeListener(_updateUser);
    }
    _errorSub.cancel();
    super.dispose();
  }
}
_user != null check is what handles the “Redirect” to the home/welcome screen after a successful login.
Best Practices for Clerk in Flutter
Security: Use environment variables (like flutter_dotenv) for your Publishable Key; never hardcode it in production.
Error Handling: Always wrap auth calls in try-catch blocks and use a SnackBar to show descriptive error messages to users.
Deep Linking: If using Social Logins, ensure you configure your Android AndroidManifest.xml and iOS Info.plist for redirect URLs.
Troubleshooting Common Clerk Errors in Flutter
Integrating authentication often comes with configuration hurdles. Here are the most common issues developers face when using the Clerk SDK:
1. “Invalid Publishable Key”
- The Cause: Using a Secret Key instead of a Publishable Key, or having extra spaces in your string.
- The Fix: Double-check your Clerk Dashboard and ensure the key starts with
pk_test_(for development) orpk_live_.
2. Android: “No Activity found to handle Intent”
- The Cause: This usually happens during Social Login (Google/GitHub) because the Android Manifest isn’t configured for deep linking.
- The Fix: Ensure your
AndroidManifest.xmlhas the correctintent-filterwith theclerkscheme.
3. “PlatformException: sign_in_failed”
- The Cause: This is a generic error often caused by mismatched SHA-256 fingerprints in the Clerk Dashboard.
- The Fix: Run
./gradlew signingReportin your Android folder and ensure the SHA-256 matches exactly what you entered in the Clerk Console. (If you’re stuck on the SHA-256 step, I show exactly how to generate it at [06:54] in this video.)
4. Handling API Errors in Code
Don’t let your app crash! Always use a StreamSubscription to catch errors from the errorStream and show them to the user:
Dart
_errorSub = _auth.errorStream.listen((err) {
  if (mounted) {
    ScaffoldMessenger.of(context).showSnackBar(
      SnackBar(
        content: Text("Auth Error: ${err.message}"),
        backgroundColor: Colors.red,
      ),
    );
  }
});
Conclusion
Clerk offers the most flexible authentication experience for Flutter developers. Whether you use the Pre-built UI for rapid development or the Custom Flow for a bespoke experience, Clerk ensures your user data remains secure and accessible.
Clerk is a comprehensive user management and authentication service. In Flutter, it simplifies the development process by handling complex features like Multi-Factor Authentication (MFA), session management, and social logins (Google, Apple, etc.) out of the box, saving you from building a custom backend from scratch.
To initialize Clerk, wrap your root widget (usually in main.dart) with the ClerkAuth provider. You must pass your publishableKey obtained from the Clerk Dashboard into the ClerkAuthConfig. This ensures the authentication state is accessible throughout your app’s widget tree.
Yes. While Clerk provides a pre-built ClerkAuthentication() widget for a quick setup, you can also build a fully custom UI. By using the ClerkAuthState listener and attemptSignIn or attemptSignUp methods from the SDK, you can link your custom text fields and buttons to Clerk’s authentication logic.
You can handle errors by listening to the errorStream provided by ClerkAuthState. A common practice is to use a StreamSubscription in your initState to listen for ClerkError objects and display them to the user using a SnackBar or a custom alert dialog.
Yes, Clerk supports various OAuth providers including Google, GitHub, Facebook, and more. To implement them in Flutter, you need to configure the redirect URLs in the Clerk Dashboard and ensure your app handles deep linking (Android Intent Filters and iOS Universal Links) correctly.
🚀 Expand Your Flutter Knowledge
If you found this Clerk integration helpful, you might also want to explore these advanced Flutter topics to take your app to the next level:
- Full Flutter & Node.js Stripe Integration: Master mobile payments using Stripe with a secure backend.
- Flutter Drift (SQLite) Database Guide: Learn how to handle local data persistence like a pro.
- AI Integration in Flutter: Build the future by integrating Gemini and Hugging Face APIs into your mobile apps.
Subscribe to AmplifyAbhi Coding on YouTube for weekly tutorials on Flutter, React Native, Android and more.
Subscribe to AmplifyAbhi on YouTube for weekly tutorials on AI Engineering.