Artificial Intelligence is transforming mobile development. Until recently, building AI-powered applications usually meant connecting to cloud services such as OpenAI, Gemini, or Claude. While these services are powerful, they come with API costs, internet dependency, and privacy concerns.
What if your Flutter application could run AI completely on the device?
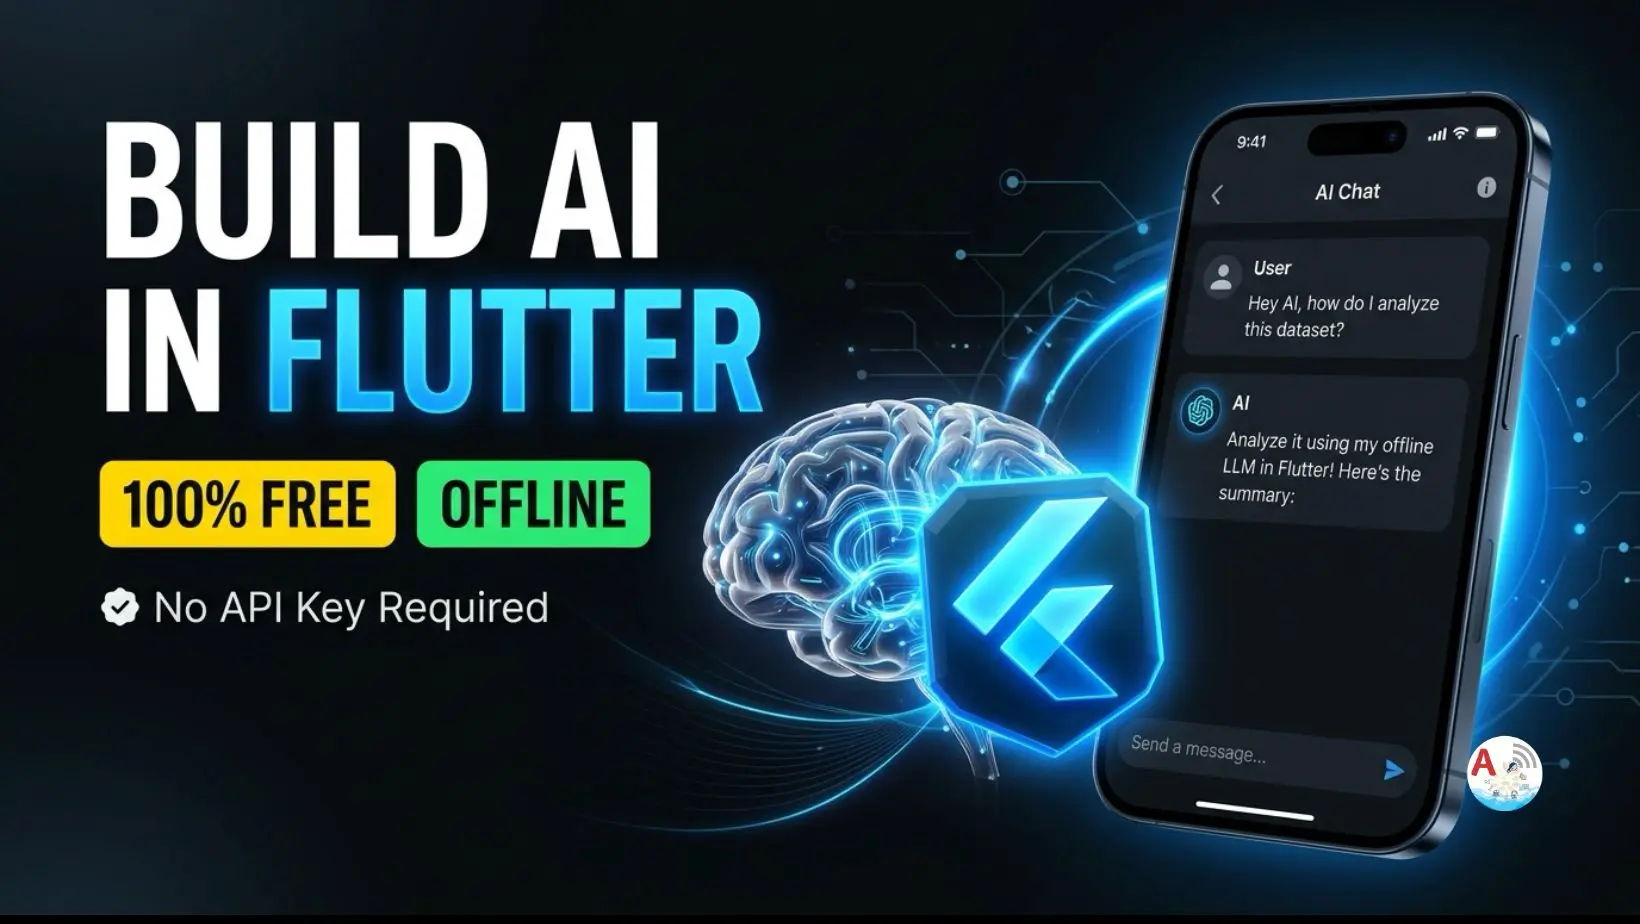
In this tutorial, we’ll build a 100% offline AI Assistant using Flutter and a Local LLM. The app works without API keys and without an internet connection, making it ideal for privacy-focused applications.
Table of Contents
Why Build an Offline AI App?
Running AI locally provides several advantages.
✅ No API Costs
You don’t pay for every request.
✅ Complete Privacy
User conversations never leave the device.
✅ Works Offline
Perfect for areas with poor connectivity.
✅ Faster Responses
No network latency because inference happens locally.
What You’ll Build
By the end of this tutorial you’ll have:
- An AI Chat Application
- Offline AI Processing
- Local LLM Integration
- Beautiful Flutter Chat UI
- Streaming AI Responses
Technologies Used
- Flutter
- Dart
- Flutter AI Toolkit
- Local LLM
- Android Studio
- VS Code
Why On-Device AI Matters
The mobile industry is rapidly moving toward Edge AI.
Instead of sending every prompt to a server, applications can now execute many AI tasks directly on the device. This approach improves user privacy, reduces operating costs, and enables apps to function even without internet access.
As mobile hardware continues to improve, expect more AI-powered features to run locally.
Watch the Complete Video Tutorial
If you prefer learning through video, you can follow the complete step-by-step implementation here:
The tutorial covers everything from project setup to integrating the Local LLM and building the chat interface.
Implementation
1. Create the Flutter Project
This is the entry point of the Flutter application, where the app starts and loads the main widget.
void main() {
  runApp(const MyApp());
}
2. Configure MaterialApp
The application launches directly into a dedicated chat screen that hosts the AI assistant interface.
MaterialApp(
  title: 'Local AI App',
  home: const ChatScreen(),
)
3. Connect to Ollama
The Flutter app communicates with the locally running Ollama server instead of a cloud API.
Note: Use 10.0.2.2 instead of localhost when running on the Android Emulator.
final client = OllamaClient(
  config: const OllamaConfig(
    baseUrl: 'http://localhost:11434',
  ),
);
4. Select the Local Model
Here we specify the Local LLM that Ollama should execute and pass the user’s prompt.
ChatRequest(
  model: 'amplifyabhi',
  messages: [
    ChatMessage.user(prompt),
  ],
)
5. Stream AI Responses
Instead of waiting for the complete response, we stream small chunks of text to create a ChatGPT-like typing effect.
await for (final chunk in stream) {
  yield chunk.message?.content ?? '';
}
6. Store Conversation History
Every user message is added to the conversation history so the chat interface stays synchronized.
_history.add(
  ChatMessage.user(prompt),
);
7. Update the AI Message
As new text arrives from the model, the UI refreshes automatically, making the AI response appear in real time.
aiMessage.append(chunk);
notifyListeners();
8. Flutter AI Toolkit Chat UI
The LlmChatView widget provides a ready-made conversational interface that integrates seamlessly with your AI provider.
LlmChatView(
  provider: provider,
)
9. Implement the Provider
The provider acts as a bridge between the Flutter UI and the local AI model, handling prompts, responses, and state management.
class LocalAIProvider extends ChangeNotifier
    implements LlmProvider
10 Generate Streaming Responses
This method sends the user’s prompt to the Local LLM and returns a stream of generated text.
Stream<String> generateStream(String prompt) async* {
  ...
}
For the complete project, detailed setup, and full source code, watch the video tutorial or check out the GitHub repository.