
Table of Contents
What is Supabase ?
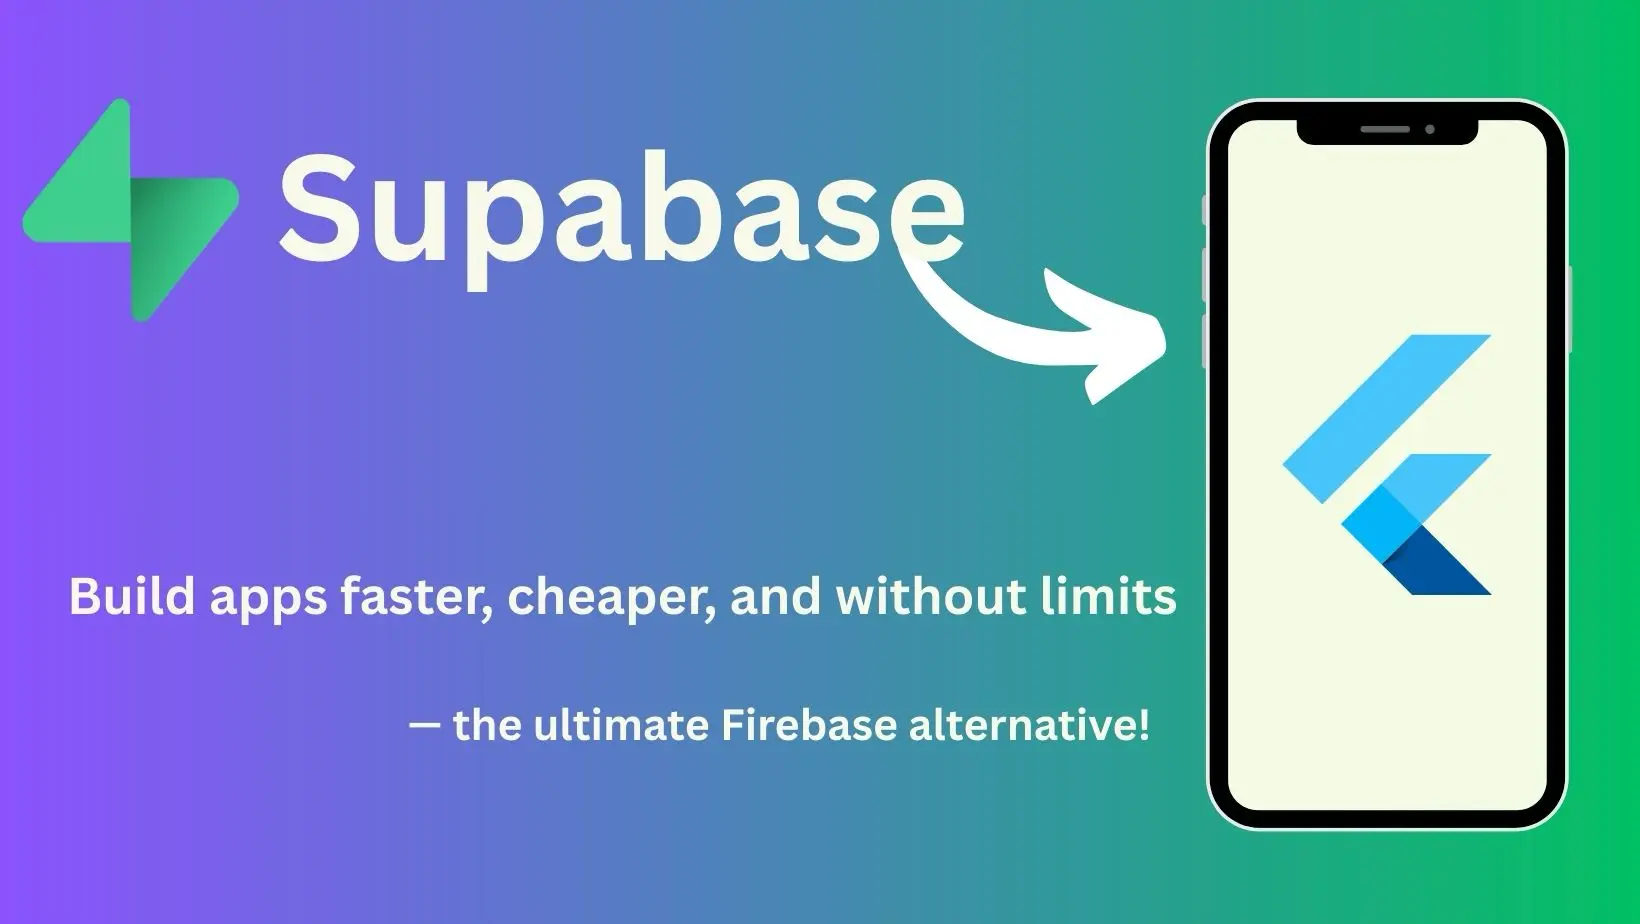
Supabase is an open-source backend-as-a-service (BaaS) platform that provides a powerful combination of a Postgres database, authentication, real-time subscriptions, storage, and serverless functions — all ready for Supabase Flutter Integration in your app quickly.
Flutter, Google’s UI toolkit, helps you build natively compiled applications for mobile, web, and desktop from a single codebase.
Integrating Supabase with Flutter allows you to build scalable apps with backend functionality like user authentication, database operations, and real-time features without managing servers.
Why Use Supabase with Flutter?
- Open Source & Free Tier: Supabase offers a generous free tier with open-source tech.
- Realtime Database: Listen to changes in your data instantly.
- Built-in Authentication: Supports email/password, OAuth providers, and magic links.
- Simple API: Supabase client SDK is easy to use in Flutter.
- Storage: Manage user-generated content like images, videos easily.
Flutter Supabase Authentication
Authentication is one of the most important features of any mobile application. Instead of building authentication systems from scratch, developers today prefer Backend-as-a-Service platforms.
One powerful alternative to Firebase is Supabase, which provides authentication, database, storage, and APIs.
In this tutorial, we will understand how to implement email authentication in Flutter using Supabase.
By the end of this tutorial you will learn:
• How to connect Flutter with Supabase
• How email signup works
• How login works
• How to manage authentication session
• How to automatically redirect users after login
This tutorial uses:
• Flutter
• Supabase
• supabase_flutter package
Add Supabase Flutter Package
First add the Supabase Flutter SDK in your project.
supabase_flutter: ^2.9.1
This package helps Flutter apps communicate with Supabase authentication and database services.
Initialize Supabase in Flutter
Before using Supabase authentication, we must initialize Supabase inside the main() function.
Basic setup includes:
• Supabase project URL
• Supabase anon public key
Example initialization:
await Supabase.initialize(
  url: "YOUR_SUPABASE_URL",
  anonKey: "YOUR_PUBLIC_ANON_KEY",
);
This connects your Flutter app with your Supabase backend.
Redirect Based on Login Session
A good authentication system should check:
• If user is logged in → show Home Screen
• If user is not logged in → show Login Screen
Supabase provides the current authentication session which can be used to determine the user state.
Example logic:
_session == null ? SignIn() : Home()
Whenever authentication state changes, Supabase automatically updates the session.
Create Login & Signup Screen
In the authentication screen we collect:
• Email
• Password
Depending on the user action we either:
• Create a new account
• Sign in to an existing account
Example Supabase login call:
supabase.auth.signInWithPassword(
  email: email,
  password: password,
);
Example signup call:
supabase.auth.signUp(
  email: email,
  password: password,
);
Access Logged In User
After login, Supabase provides the current user information.
Example:
final user = Supabase.instance.client.auth.currentUser;
This allows us to access:
• user email
• user id
• authentication details
Sign Out User
Supabase makes logout extremely simple.
Example:
Supabase.instance.client.auth.signOut();
After logout, the authentication session becomes null, and the user automatically returns to the login screen.
Watch Full Supabase Flutter Integration
The complete implementation including:
• Project setup
• Supabase dashboard configuration
• Full authentication UI
• Complete working code
is explained step-by-step in this video.